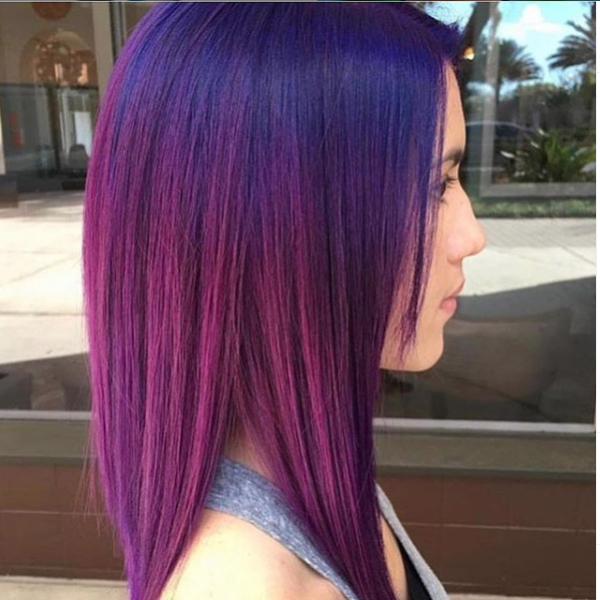
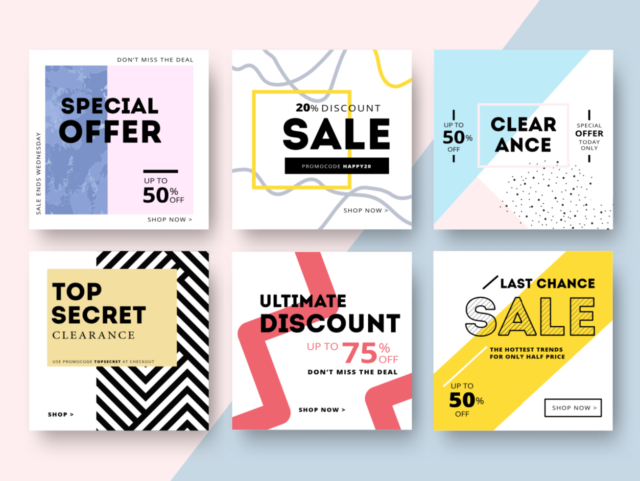
It’s a well known fact that people look first and read second. This is because the human brain processes visual information much faster than it processes text based information. How much faster you ask? 60,000 times faster!
When it comes to visual information and selling, 93% of consumers consider visual appearance to be the key deciding factor in a purchasing decision. The more information a potential customer has about a product or service, the more they are willing to make the purchase, and pictures can be the best way to communicate large amounts of information very quickly.
Product photography is important no matter what you sell, from books and toys to beauty products, all the way through to hardware tools. Showing customers what they are paying for ahead of time also means they’ll be less likely to return the item for not meeting their expectations.
We know not every business has the manpower and budget to put towards building up a photo library to use on their website and social channels, so we’ve broken down the basics for taking and using product photos for the most impact.
So here are three tips to get the most out of the images on your eCommerce store.
1. Invest in your own product imagery
Standard stock images are used everywhere and chances are your competitors might rely on them. Having your own photography of the products you sell gives your business a sense of authenticity and reliability. You’ll also have more control over how the products are presented, from the backdrop to positioning and lighting.
If you do have some money to put towards professional photographers, ballpark figures from professionals can range from $25 an hour to $500 an hour depending on the photographer’s experience and your requirements for the shoot.
If this doesn’t work with your budget, never fear! We’ve compiled some of the best tips and tricks for taking your own photos.
Buy a tripod
For consistent angles and to make sure your camera stays steady, a tripod can be an invaluable purchase. Ideally you’ll want consistency across your product range, and rather than trying to replicate the same position and angle you used on previous shots, a tripod setup eliminates the fiddly aspects of lining up your shot again and again. There are a lot of different models available, but an important consideration when purchasing a tripod is whether you’ll be using a standard camera or your smartphone to take your photos. Make sure the tripod you buy is compatible with whatever device you’re using.
Choose your lighting
Depending on your products, you might want to choose to shoot in natural light conditions or artificial light. You might want to choose natural lighting if your product is used outside in order to give your potential customers a better representation of what the item will look like once they’ve purchased it. Artificial light is ideal for indoor products and it gives a smaller but more focused light area, making it suitable for items that have a lot of detail.
Set your stage
Choose the background you want to appear behind and around your product. Do you want a plain white backdrop to show up your product? Or do you want to have other items around your product to act as props to show customers what the product could look like in action? Or you could have the best of both worlds and try both approaches like Ikea.
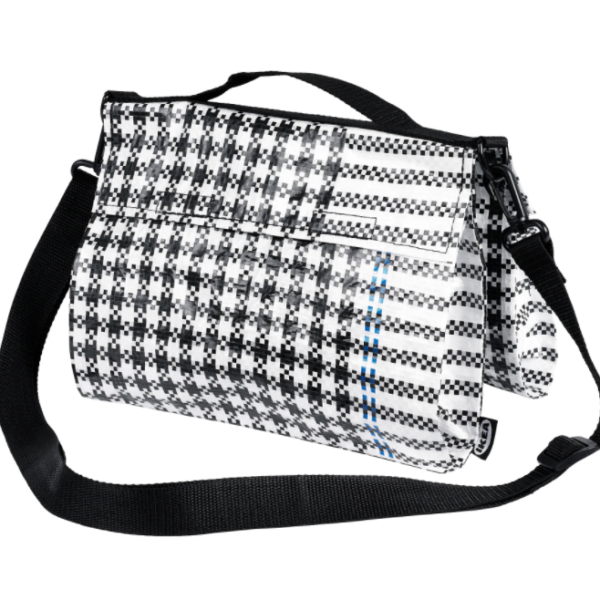
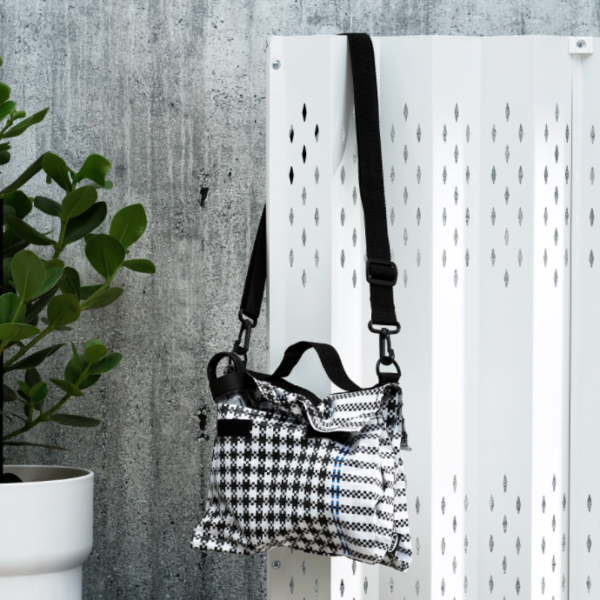
They include a photo of the bag on it’s own against a white backdrop but also an ‘in action’ shot of the bag. This style of photography can help your potential customers visualise how your product can be used and what it will look good with.
Show off every angle
Leading off the previous point, don’t just rely on one photo of your product. Show off your range, displaying all the different colours and styles available. Take photos from the front, back and side if possible. According to marketing studies, only 0.52% of consumers want to see a single image of a product, 33% want to see multiple photos and more than 60% prefer images that enable them to see the product from 360 degrees. Don’t sell your products short, show them off as much as you can.
Edit your shots
Depending on your budget, you might want to look into some photo editing software. If Photoshop is too expensive, there is plenty of free photo editing software available online. Here’s a list of the top ten programs you can use to perfect your images. If you don’t have any editing experience and don’t know where to start, YouTube has an entire library’s worth of how-to guides and tutorials to help you learn the basics and even advanced editing techniques.
Now you’ve got your images ready, we’ll show you what to do with them.
2. Use your images on your social media accounts
If you have social media pages, make sure you’re uploading images of your products with your posts. According to BuzzSumo, image posts are 2.3 times more likely to be noticed than text posts. Even if the post isn’t directly related to the product featured in the image, it will still serve as an attention grabbing pull which will lead to better engagement with your updates.
Read more
7 ways to improve website engagement for your business
3. Show your products in action
Ask your customers to show off their own photos with your products. You could do this by asking them to email them through or post them to your social pages along with a review. Not only will this show potential customers your product is happily being used by others, but real photos with real customers (social proof) can go a long way in building your brand’s credibility and reputation.

Now you know how important product photography is and the basics to get you started. Don’t be afraid to experiment with your photography as there isn’t just one right way of taking a picture!
Product photography makes up one small part of the experience a customer will have with your eCommerce store. Looking to find other ways to grow and improve your online store? Check out our free guide, 3 strategies to help grow your online business.

Subscribe to updates
Get the latest news and payment insights from Eway hot off the press.

